Showing posts with label baking. Show all posts

Saturday, 9 November 2013

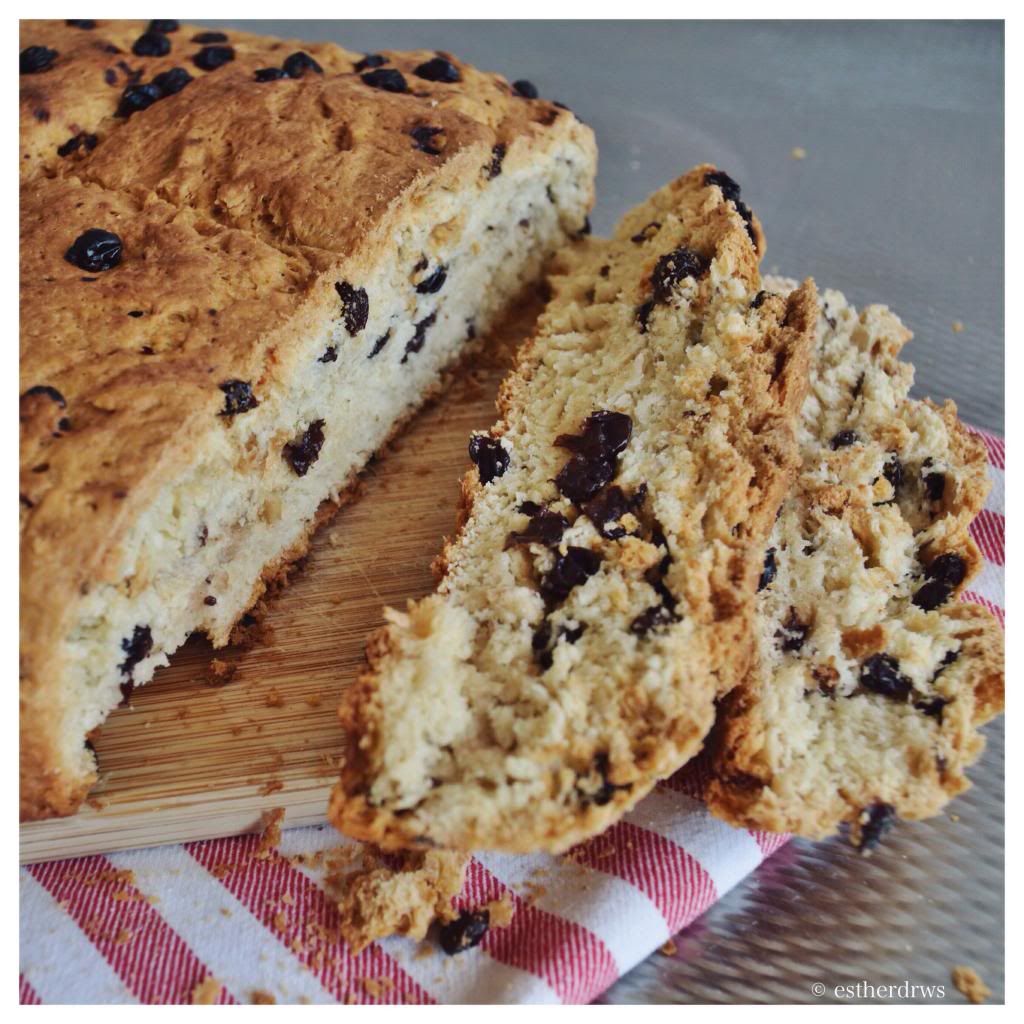
{Day 70/365} Homemade currant loaf

Yesterday evening I started making the dough for this homemade bread with currants. I love this bread, but I can't have the currant loafs which are sold in stores because they contain milk/lactose. Now I've made my own currant loaf with lactose free milk and vegetable butter and it turned out amazing! Me and the mr. had it for breakfast this morning. Just put a little bit of (vegetable) butter on top and/or cover it with slice of (old) cheese. The saltiness of the cheese combines perfectly with the sweet taste of the currants and the cinnamon. Just delicious. The recipe comes from Allrecipes Nederland. 


For one (huge) loaf you will need:
- 375 gr (dried) currants
- 50 gr yeast
- 300 mL warm milk
- 150 gr sugar
- 1 kg flour
- 2 eggs
- 200 gr (vegetable) butter (room temperature) 
- 1 teaspoon cinnamon
- 1 teaspoon salt


1. Add warm water to the currants and set aside.
2. Put yeast in a bowl and add the warm milk and sugar. Slowly add the flour and let the dough rise for about 20 minutes. 
3. Drain currants and dry with a towel.
4. Add the 2 eggs, salt, cinnamon and butter to the dough, and knead until it is a nice, supple dough. Add the currants after that and knead again.
5. Put the dough in a greased, round baking tray and let it rise for about 60-90 minutes (I let it rise during the night, which was OK too).
6. Preheat oven to 200 degrees Celcius. Cut an X in the dough with a very sharp knife before putting the bread in the oven for 60 minutes. The bread it finished when it's golden brown on top.
7. Let it cool for a while before cutting the bread. 

Friday, 4 October 2013

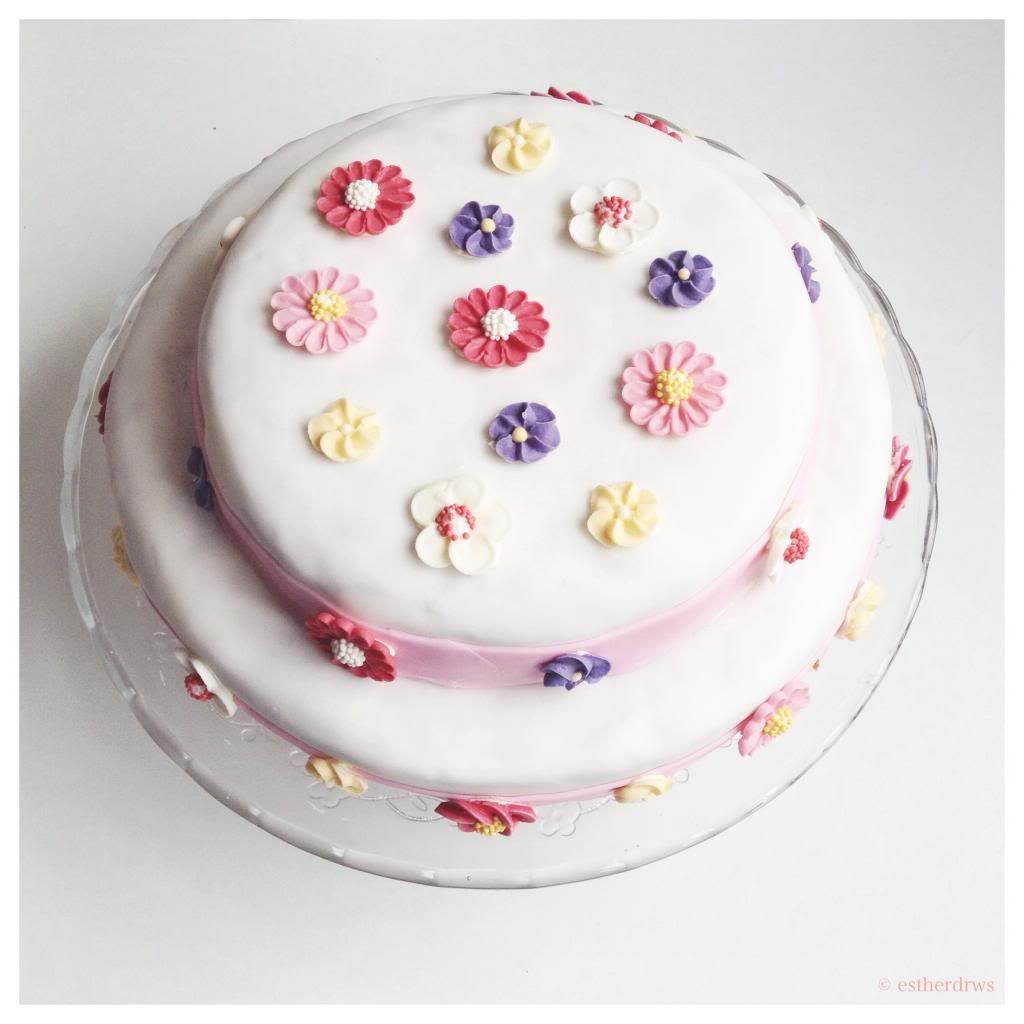
{Day 34/365} Birthday girl

Today is my 26th birthday! And it has been a lovely day. I spent the entire morning baking a lemon/apricot cake and I loved it. Just like yesterday, I kept thinking.. If I could just bake and cook all day, every day. That would be awesome. Here's my cake, and if you guys would like to have the recipe, I'll write it down sometime soon.


Saturday, 28 September 2013

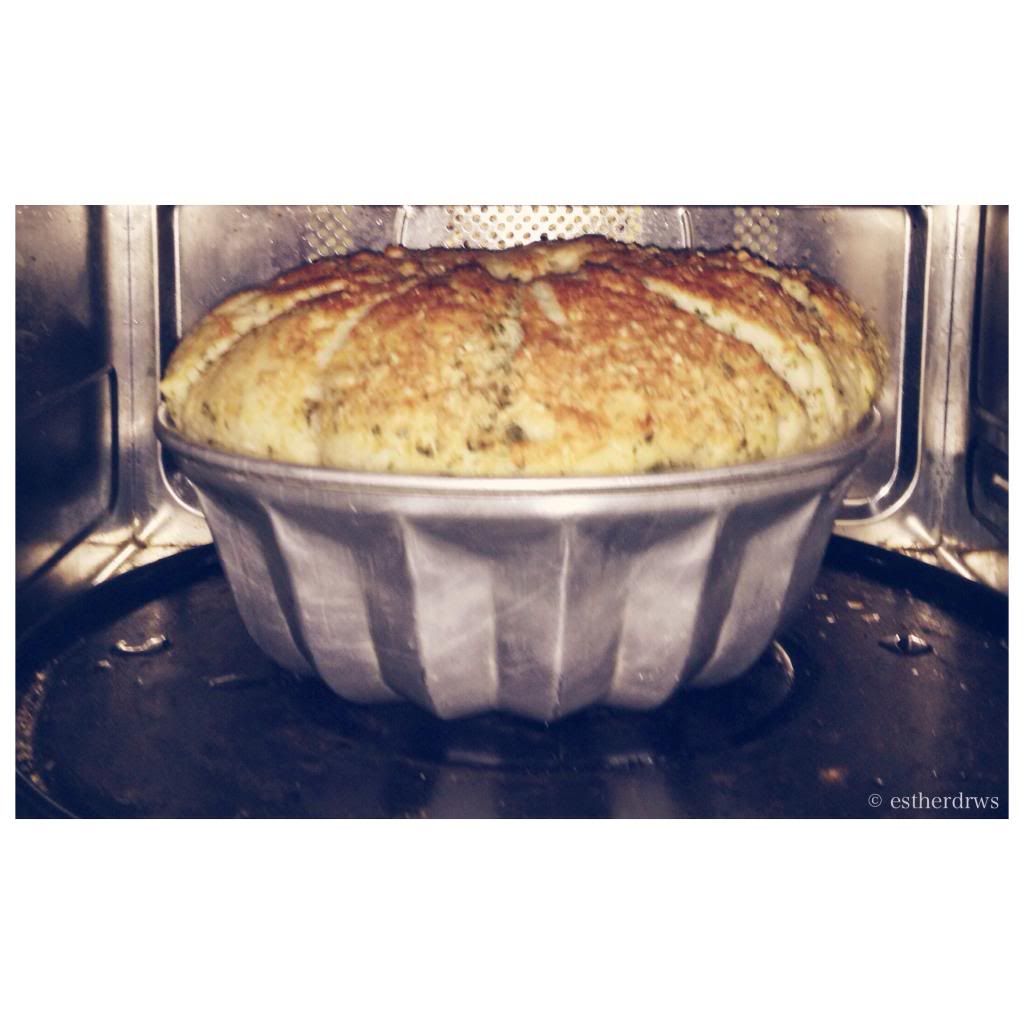
{Day 28/365} Garlic Parmesan Pull-Apart Bread

Today, me and the mr. went to the local market to get some vegetables for the weekend. I got a lot of tomatoes (we're talking kilos) for tomato soup (recipe will be up in the next two weeks), which I wanted to make because I needed something to go with the garlic parmesan pull-apart bread. Ha. Here's the recipe (from the lovely blog Pastry Affair):


For one loaf you will need:
- 2 teaspoons active dry yeast
- 330 mL barely warm water
- 2 tablespoons extra-virgin olive oil
- 2 teaspoons salt
- 420 gr all purpose (or bread) flour
- 60 gr butter, melted
- 1 tablespoon dried parsley flakes
- 2 cloves garlic, minced
- 25 gr freshly grated Parmesan cheese (or more!)


1. In a large mixing bowl, stir together the yeast and water. Let sit 5 minutes until yeast is foamy.
2. Mix in the olive oil, salt, and flour. If you have a stand mixer, attach the dough hook and knead the dough for 5-6 minutes, or until elastic. If you are doing this by hand, knead the dough on a lightly floured surface until dough is elastic, 7-10 minutes. 
3. Transfer dough to a lightly oiled bowl and cover with a clean kitchen towel. Allow to rise for 1 1/2 to 2 hours, or until dough is doubled in size.
4. In a small bowl, combine melted butter, parsley flakes, and minced garlic. Set aside. 
5. Punch down the dough. Tear off small pieces of dough (roughly the size of the bowl of a medium spoon), coat in the butter mixture, and place in the bottom of a bundt pan. Repeat this process until you have one layer of dough balls. 
6. Sprinkle on 1/3 of the Parmesan cheese. Continue layering the dough balls and cheese until you have 3 layers. 
7. Cover the pan with a clean towel and allow to sit until dough has doubled in size, 20-30 minutes. 
8. Preheat oven to 175 degrees Celcius.
9. Bake for 25 to 30 minutes, or until bread is golden brown. Serve hot with a side of marinara or tomato sauce.

Tuesday, 24 September 2013

{Day 24/365} Salted Caramel Bundt Cake

Today is - unfortunately, again - all about studying, since I have the midterm exam tomorrow. During my midday break, I have made a salted caramel bunt cake, the recipe of which I found at a wonderful food blog called Baking in Pyjamas. I had some caramel syrup left from last week's apple galette (see last Wednesday's post for the recipe), so the timing couldn't have been better. 


For one bundt you will need: 

- 145 grams unsalted butter at room temperature
- 240 grams self raising flour
- 1/2 tsp baking powder
- pinch of (maldon) salt
- 240 grams caster sugar
- 1/2 tsp pure vanilla extract
- 2 large eggs
- 180 mL salted caramel syrup (recipe)
- 250 mL milk

1. Pre-heat the oven to 180 degrees Celcius. Grease the bundt tin and set to one side.
2. In a medium bowl mix together the flour, baking powder and the salt. Set aside.
3. In a seperate bowl, mix the butter and sugar and mix until it is a smooth, fluffy, creamy mixture.
4. Crack the eggs one at a time into the same bowl as the butter/sugar mixture and mix them until well incorporated. Do the same with the vanilla extract.
5. With the mixer in low-speed, steadily pour in the salted caramel syrup and mix until thoroughly incorporated.
6. With the mixer in medium speed, add 1/3 of the flour mixture mixing until just incorporated, then add 1/2 the milk mixing until just incorporated and continue to do this until everything has been thoroughly incorporated. 
7. Scrape the batter into the tin and smooth the top. Bake for about 45-60 minutes, or until a cake tester inserted into the middle of the cake comes out clean. Leave the cake in the tin for 20 minutes, then transfer to a wire rack to cool completely. 

Laura from Baking in Pyjamas indicated that she used the recipe from Cake Simple by Christie Matheson.

Wednesday, 18 September 2013

{Day 18/365} Apple galette with caramel

Last week I collected the last bunch of apples from my mum's apple tree, and I just had to do something with them. So I searched for a recipe with apple (so many!) and I found a rather simple recipe for a galette with apple and caramel on a blog called Life's a Feast. Yum! The light (or: the lack of light) was the cause of the worse quality of the picture. Tomorrow I'll come with a better one. But for now:
For this apple galette you will need: 


For the Sweet Almond Pastry Crust:
150 gr cups flour
50 gr cup sugar
50 gr finely ground almonds
50 gr unsalted (vegetable) butter, cool
3-5 tbs cold water

For the Apple Galette Filling:
3-4 apples, peeled, cored and cubed
1-2 tbs flour
2-3 tbs sugar
Scant ½ tsp ground cinnamon
Dash ground nutmeg

Cream for brushing the pastry; sugar for dusting crust.

For the Salted Butter Caramel Sauce (Caramel au Beurre Salé):
1 cup (200 g) granulated white sugar
3 ½ Tbs (50 g) salted butter
1 cup (250 ml) heavy cream

Prepare the Pastry Crust:

1. Place the flour, sugar and ground almonds in a mixing bowl and stir to combine. 
2. Add the butter in cubes; toss to coat the cubes. Using only your thumbs and fingertips, rub the butter into the dry ingredients until the consistency of damp sand and all of the butter has been incorporated. 
3. Using a fork, vigorously stir in 3 tablespoons of the cold water; adding the remaining water a tablespoon at a time until all of the dry ingredients are damp and pull together into a ball. 
4. Scrape the dough out onto a floured work surface and knead briefly and gently, adding a bit of flour if necessary, until the dough is smooth and no longer sticky. 
5. Wrap in plastic wrap and refrigerate to chill while preparing the filling.
6. Preheat the oven to 375°F (190°C). Line a baking sheet with a sheet of parchment paper.

Prepare the Apple Filling:

7. Peel and core the apples and cut into cubes. Place the apple cubes in a bowl and toss with the flour, sugar, cinnamon and nutmeg.  


Prepare the Galette:
8. Remove the Sweet Pastry Crust from the refrigerator and discard the plastic wrap. 
9. Place the ball of dough on a floured work surface and gently roll out into a 12-inch diameter circle. Carefully roll the dough around the rolling pin and transfer to the parchment-lined baking sheet. Pile the prepared apple cubes in the center of the pastry circle and spread out to distribute evenly, leaving about 2 - 3 inches of dough free all around the outside edge of the circle, enough to lift up as a border to hold the apples in place.
10. Begin lifting the edge of the circle of dough up and place against the apples. Lifting the dough up about 3 inches at a time and moving around the galette, the dough “flaps” will overlap. 
11. Brush the folds of dough where they overlap with a little of the cream and “glue” down, pressing in place gently. Continue all around the galette. Brush the crust all over with cream and dust with sugar.  
12. Bake the galette in the preheated oven for about an hour or until the crust is a nice golden brown and the filling is bubbly. Remove from the oven to a cooling rack and allow to cool before slicing and serving.

Prepare the caramel:
13. Melt the sugar in a medium-sized saucepan over medium-low heat and cook until completely melted and caramel in color. 
14. Lower the heat to low and whisk in the butter in about 3 or 4 additions. 
15. Continuing to whisk, add the heavy cream in a slow stream; the caramel may foam up, but keep whisking, as it will calm down once all the cream is added and will turn to… a smooth caramel. Once it is smooth and creamy, remove from the heat and allow to cool at least to tepid before serving.
Monday, 9 September 2013

{Day 9/365} Apple-fig tarts

This weekend I bought a fig (yes, just one) at the local market. I bought only one because I never had figs and I wanted to know what it tastes like. To no one's surprise, I decided to bake and use that one fig. I did my research well and I found that the taste of figs combines well with, apples, honey, almonds and vanilla, for example. So there's my exact list of ingredients for the filling of the tarts I made. The recipe can be found below.


For six tarts you will need: 

Crust
- 180 grams flour
- 45 grams sugar
- 90 grams cold (vegetable) butter
- 2 eggs (beaten)
- pinch of salt

Filling 
- 3 figs
- 2 apples
- 45 grams of almonds
- 1 vanilla pod
- 4 tbsp honey

1. Preheat oven (175 degrees Celcius)
2. Mix flour, butter, sugar, two thirds of the beaten egg and a pinch of salt and knead with hands until an even dough forms. Wrap in plastic and let it rest for 30 minutes in the fridge. 
3. Roast almonds in preheated oven for about 5 minutes. Take out and let them cool down. Now, preheat oven to 200 degrees Celcius. 
4. Mix apples (diced), seeds of vanilla pod, chopped almonds (chopped) and 3 tbsp of honey.
5. After a 30 minute rest, take out crust dough. Fill the 6 tins with crust dough. 
6. Spread the apple mixture evenly over the dough. 
7. Arrange two quarters of a fig on each tart and drizzle a little honey over each tart.
8. Bake for about 30 minutes on 200 degrees Celcius.

Saturday, 7 September 2013

{Day 7/365} Home made chocolate granola

Today I complete my first week of project 365, hooray! It was a great first week. My delight of today is most definitely the taste of the homemade chocolate granola I made yesterday. A couple of days ago I found this recipe on Aleksandra's lovely blog Eat Me!, which is certainly worth a visit.

For a big jar of granola you will need:

- 300 gr rolled oats
- 3 tablespoons cocoa
- 3 tablespoons shredded coconut
- a handful dried cranberries
- a handful chopped walnuts (I used hazelnuts instead)
- a handful of almond flakes
- 2 tablespoons honey (or the sweatener of your choice)

1. Preheat the oven to 150 degrees Celcius
2. Combine all ingredients in a bowl and toss well. Cover a baking sheet with parchment paper and spread evenly the mixture on it. I used a baking tray because of the size of my oven, that works too.
3. Bake for about 20-25 minutes. Pop in every five to ten minutes to toss the granola and watch not to burn it. 

That's all there is! It's one of the simplest recipes I have ever seen, and one of the most delicious, too. Try this, and you know why home made goods easily beat supermarket bought goods. Enjoy this breakfast with (soy) milk or yoghurt, and fresh fruit.